
All of you abode lovers remember the man mountain, right? Well, it's back! I recently snagged a pair of bookshelves from World Market for a GREAT price to flank either side of the window behind the sofa. This was unused space and I always knew I wanted a pair of bookshelves back there for storage and to add another layer of interest to the room. I've been searching for a great deal for quite a while now!! So, the bookshelves that I decided upon were on sale, and I had a coupon! (I love when that happens...) I really loved the shape of the bookshelves as well as the height and depth. I didn't love the finish, but I knew I could work it out.
Here are the bookshelves before I really got my hands on them... and remember this covered DVD project? This photo was taken before the project was completed... can you believe the difference in the DVDs from the left bookshelf to the right? (and yes, that's normally how our pillows look, thanks to Mister Hubbs)

Here is a close up... DVDs look insane in their natural outfits... they're all over the place, so skank. Also, notice the bottom shelf... Mister Husband "styled" this shelf. And yes, those are his cleats, socks, shin things and his soccer ball. He literally put his socks on display... which is why I am the decorator of the abode.

And now on to the transformation... I decided to paint the exterior portions of the bookshelf white to brighten up these pieces. At first I thought I would paint the bookshelves solid, but then I had a change of heart and left the actual shelves dark wood to tie in with other pieces in the man mountain.
This photo was taken after I painted the first coat.

Here are the pair after the first coat... already SO much brighter!

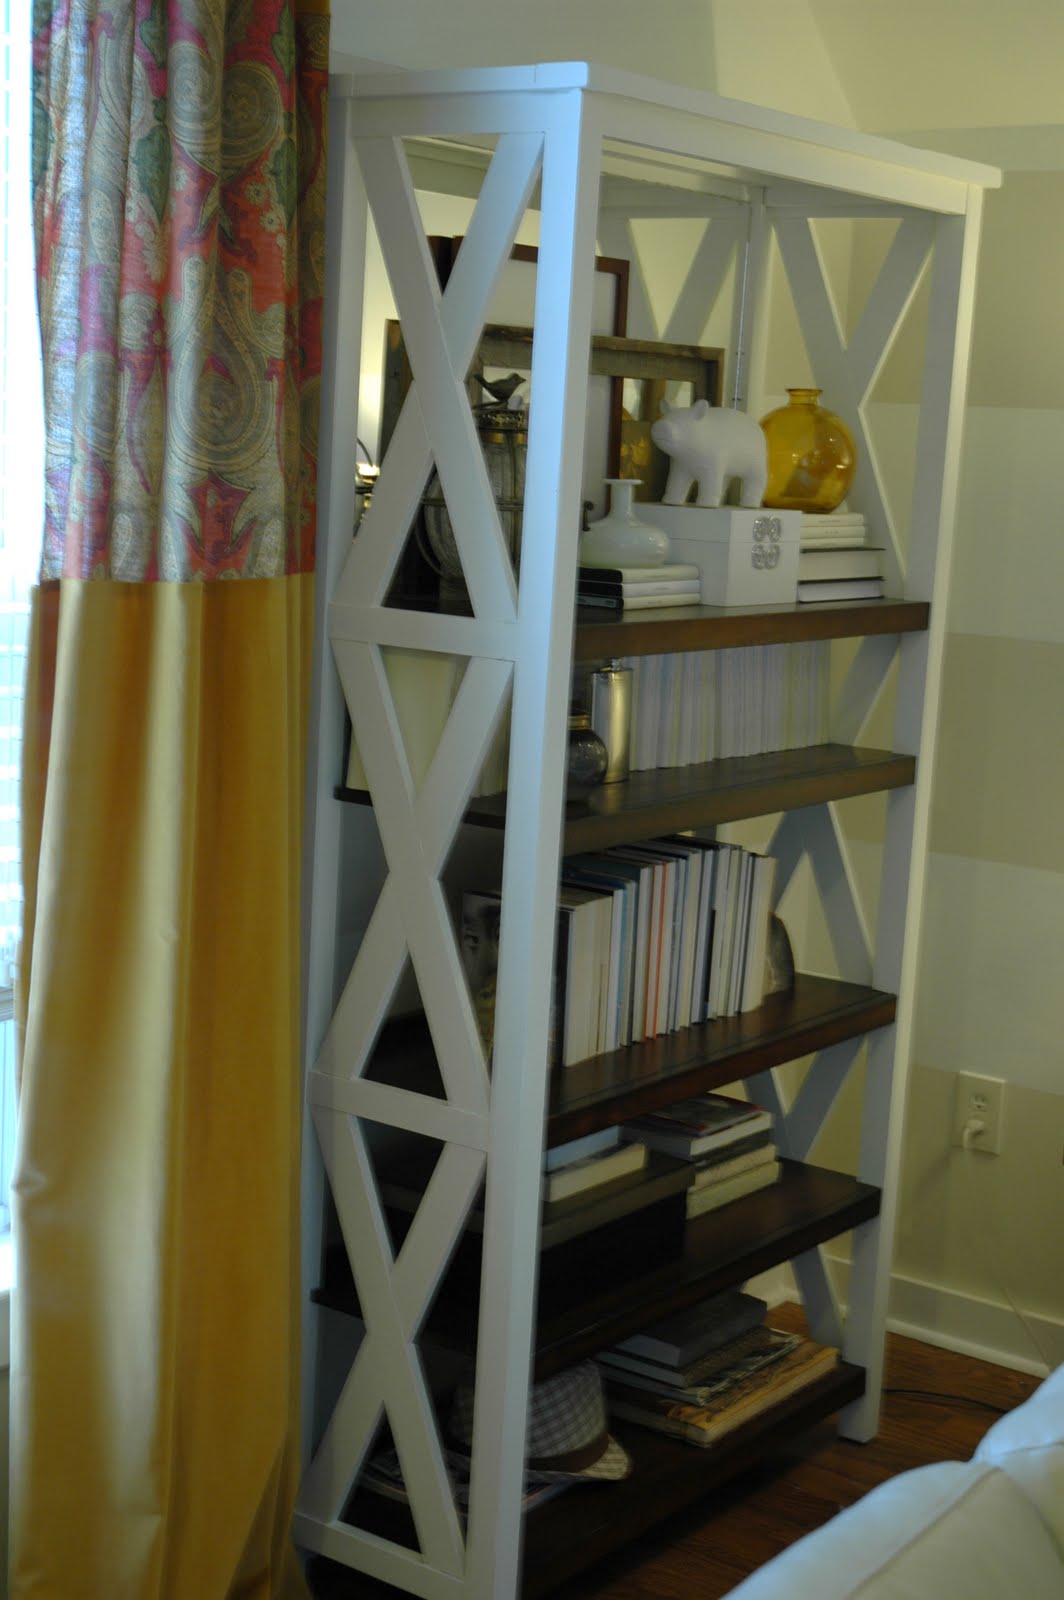
And here are the shelves complete! (with styling done by yours truly instead of Mister Hubbs...) I used leftover mirror from my dining nook project to glue to the back of the top shelf. (my super mom has a glass cutter and came over to help me out!) The mirrors bounce off light and create depth-- they also allowed me to lean pictures and frames against a solid surface instead of there being a large opening behind the top shelf.

I used books as decor as well as little nicknacks I've picked up over the years. I tried to use only cream and white so that the shelves didn't look fussy in the room. I love turning books around so that the pages face outward, its a much cleaner look and goes perfectly with my cream and white color scheme.

Most of these small items (like the pig, decorative box, vases and picture frames) are from either Homegoods or TJMaxx...

I love the antique Auburn trunk- it fills the space nicely and balances out all of the small items on the top shelves. Also, here is a good look at the covered DVD project- I used cream and white paper and I love the light contrast between the two colors... it mimics the stripes on the walls.

I love the small pop of color in the amber colored glass vase. I think it works with all of the white and cream because you can see through it so it feels very light.

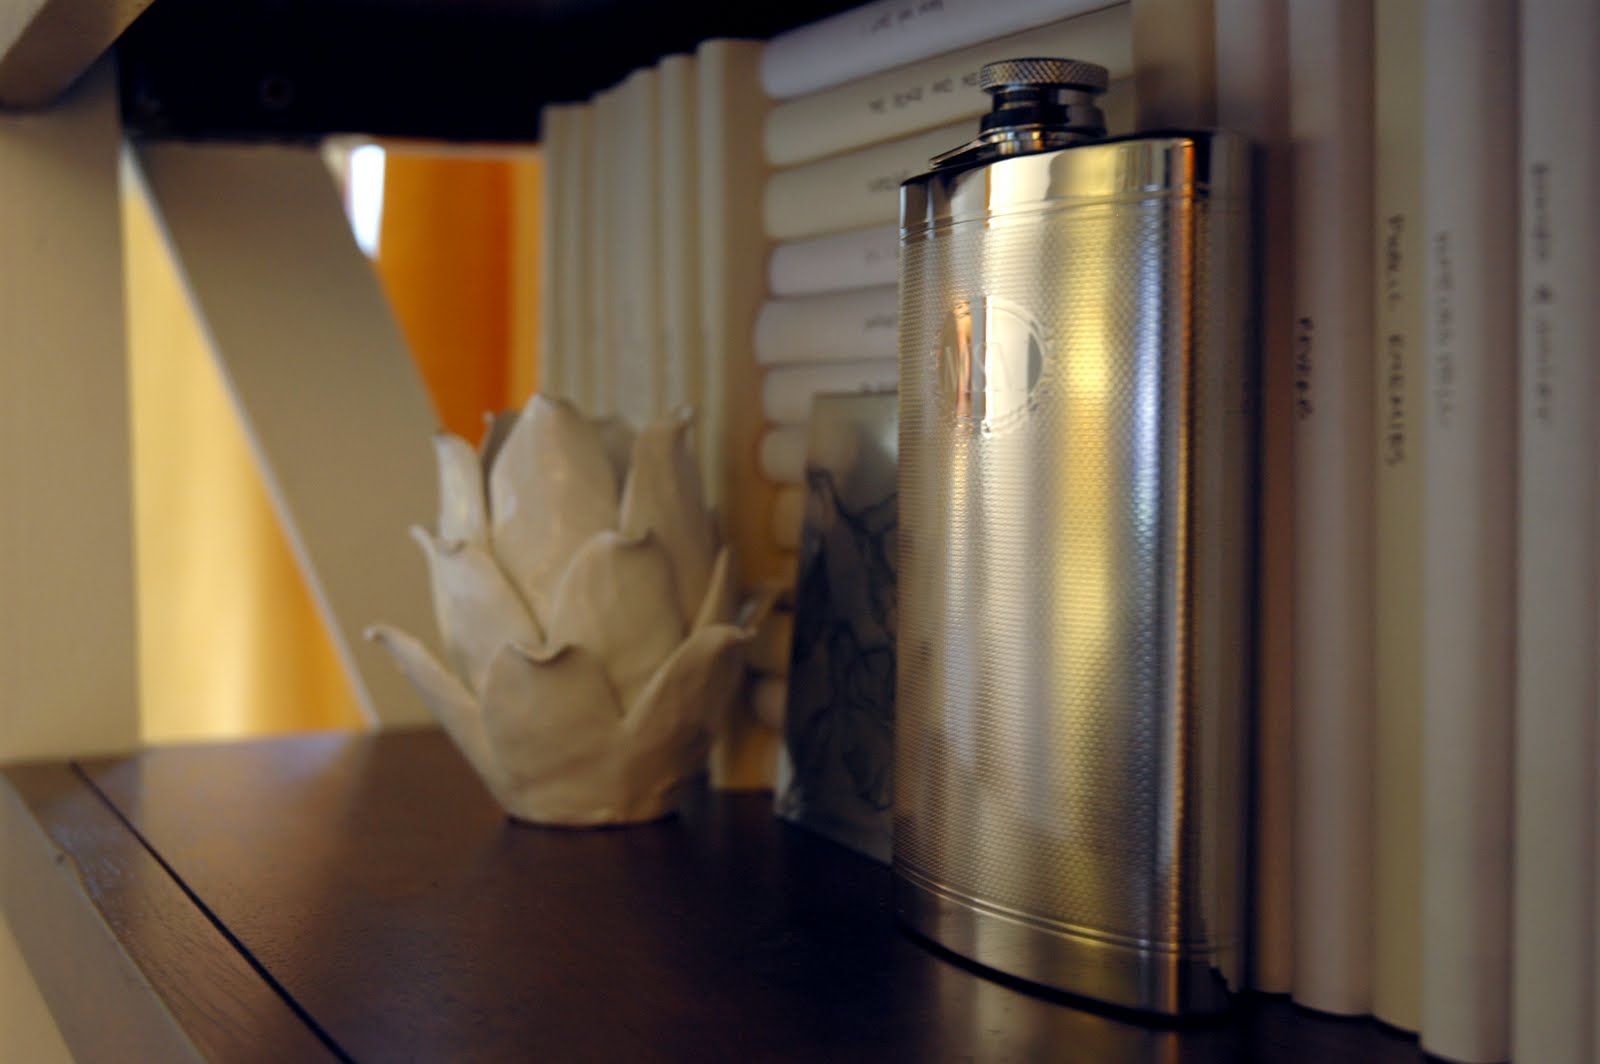
Here is a close up of Mister Husband's flask from his best friend's wedding.. It's so pretty it had to go on display! The small silver rectangular plate peeking out from behind the flask is an etching I did in college.

Here are a few more new items that I have collected over the past few months. The coasters are from Colonel Dad off of Air Force One... no lie. Colonel Dad had access to some pretty amazing presidential memorabilia about 10 years ago when he worked a little with Air Force One. The silver and gold coasters work perfectly with all of the silver and brass in the man mountain!

I also snagged that little tiger bowl from Anthropologie a few weeks ago... it's too perfect NOT to get for this space!

Here is the other side of the room... without the skank DVDs, it looks MUCH better! I am loving the impact that this DVD cover DIY has had on all of my displays!

Here is a shot before... look at all of the fussy and cluttered skank crap shoved in those cubbies.... it looks SO much better with the DVDs covered!

So, I hope all of you abode lovers have a great day and I hope that you guys like my new additions to the man mountain!
0 comments:
Post a Comment